


<
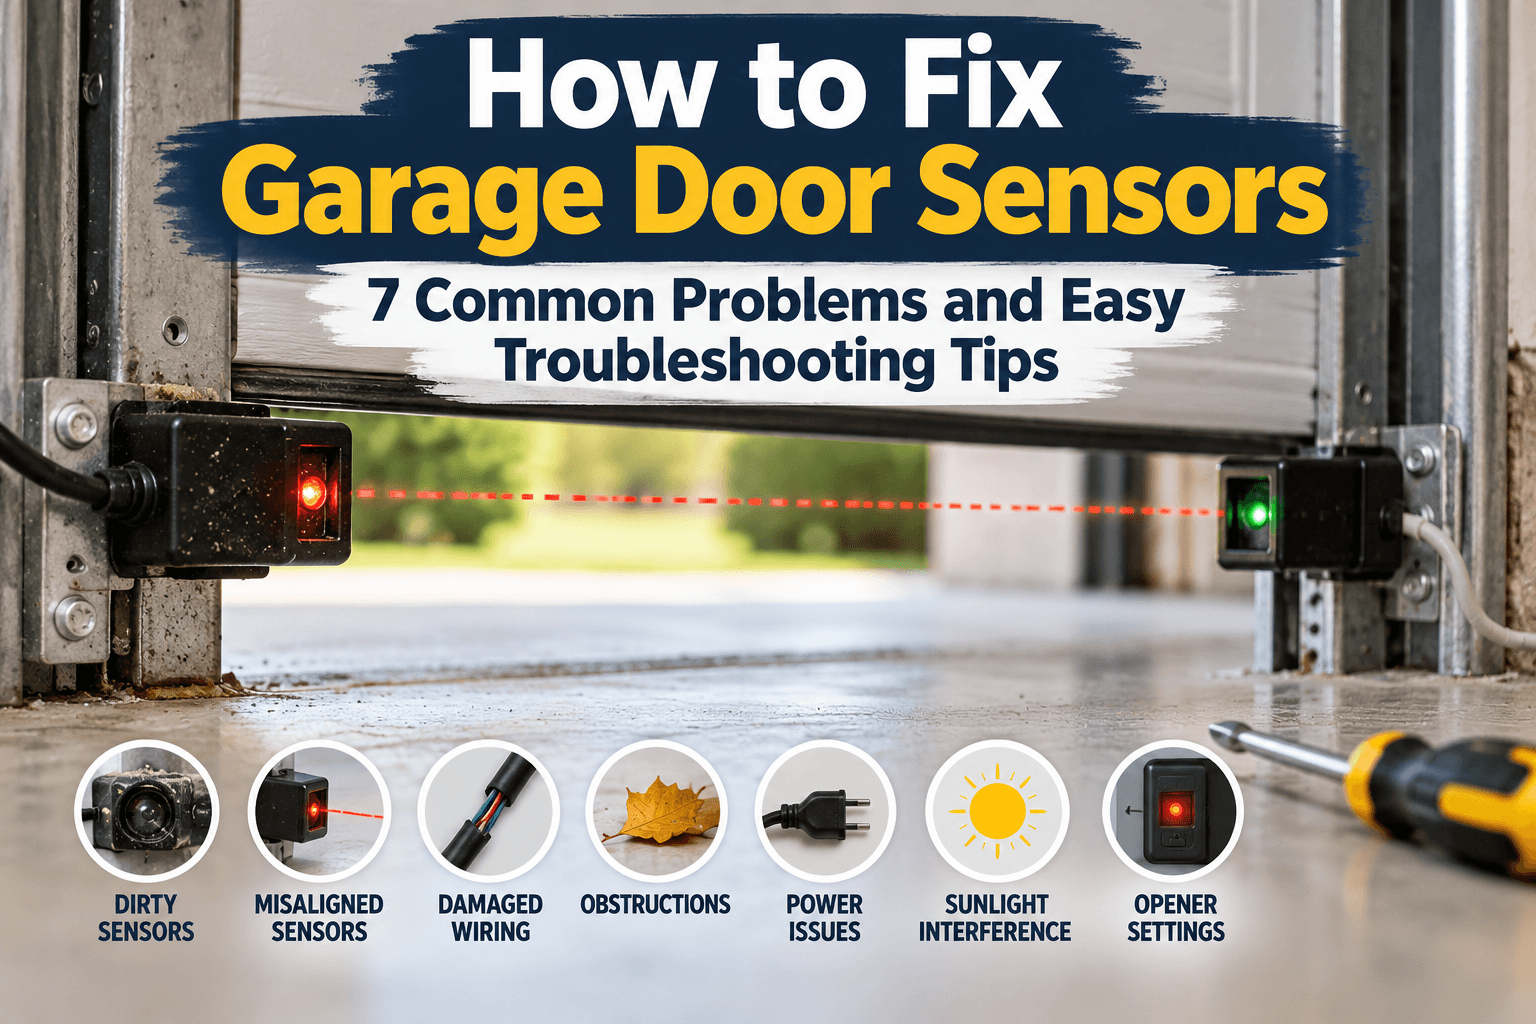
You press the button, the garage door starts to close, and then — halfway down — it stops and rolls right back up. Or it simply refuses to budge, the opener light blinks at you, and you’re left standing in the driveway wondering what went wrong. Nine times out of ten, the culprit isn’t the door or the opener at all. It’s the two small safety sensors sitting near the bottom of the tracks.
The good news is that many sensor issues are simple to diagnose and safe to fix yourself. This guide explains how to fix garage door sensors by walking through seven of the most common problems, with clear, practical troubleshooting steps any homeowner can follow — plus a straightforward guide to when it’s time to call a professional for garage door repair in Durham Region.
How Garage Door Safety Sensors Work
Before troubleshooting, it helps to understand what these sensors actually do. Every modern residential garage door has two photo-eye sensors — one mounted on each side of the door, a few inches above the floor. One sends out an invisible infrared beam; the other receives it.
As long as that beam travels uninterrupted from one sensor to the other, the door knows the path is clear and will close. The instant something breaks the beam — a child, a pet, a trash can, or even the sensors falling out of alignment — the system assumes there’s an obstruction and refuses to close, or reverses a door that’s already moving. It’s a safety feature designed to prevent the door from closing on a person, animal, or object. That’s exactly why you should never bypass or disable it; the goal of troubleshooting is to get the sensors working correctly again, not to switch them off.
Before you begin — a few safety basics:
- Keep children and pets well away from the door while you troubleshoot.
- Never place your hands or fingers near the moving door, tracks, springs, or rollers.
- Where you need to inspect wiring or wipe components, unplug the opener or switch off its power at the breaker first, following your opener’s manual.
- Stick to visual checks and gentle cleaning — leave electrical repairs to a trained technician.
7 Common Garage Door Sensor Problems and How to Fix Them
1. Dirty or Clouded Sensor Lenses
Over time, dust, cobwebs, grime, and even condensation can build up on the small lens of each photo eye, weakening or blocking the beam. This is one of the most common reasons garage door sensors stop working — and one of the easiest to fix.
- Gently wipe each lens with a soft, dry or slightly damp microfibre cloth.
- Avoid harsh chemicals or abrasive materials that could scratch the lens.
- Clear away any cobwebs, leaves, or debris around the sensor housing.
2. Sensors Out of Alignment
The two sensors must point directly at each other for the beam to connect. A stray bump from a car, a bike, or even a vacuum can knock one slightly off-angle. If your door won’t close and the lenses are clean, misalignment is the likely cause.
How to align garage door sensors safely:
- Look at the small indicator light on each sensor. Many systems use a steady light to show a good connection and a blinking or off light to show a problem (indicators vary by manufacturer, so check your manual).
- Gently adjust the angle of the sensor with the unsteady light until both lights read as connected.
- If the brackets feel loose, snug them just enough to hold position — without forcing or over-tightening.
3. Loose Mounting Brackets
Even perfectly aimed sensors won’t hold their alignment if the bracket holding them is loose. Vibration from daily use can gradually work screws free. Check that each sensor sits firmly in its bracket and that the bracket is secure to the track. A sensor that droops or swivels at a touch will keep losing its connection until the mount is steady again.
4. Something Is Blocking the Beam
Sometimes the fix is as simple as moving an object. Because the sensors sit low to the ground, it’s easy for everyday clutter to interrupt the beam without you noticing.
- Check for garbage bins, boxes, tools, or sports equipment near the door opening.
- Watch for tall weeds, leaves, or snow build-up along the bottom of the tracks.
- Make sure nothing is leaning against or hanging in front of either sensor.
5. Direct Sunlight Overwhelming the Sensor
Here’s one that surprises a lot of homeowners: bright, direct sunlight hitting the receiving sensor can “wash out” the infrared beam and mimic a blockage, so the door won’t close. If your sensor trouble only happens at certain times of day — often morning or late afternoon — sunlight may be the reason. Temporarily shading the affected sensor can confirm it. A technician can suggest a lasting solution if the problem is recurring.
6. Visible Wiring Problems
Each sensor connects to the opener with thin low-voltage wires. These can loosen, get pinched, or be nicked by pests or yard tools. You can safely do a visual inspection — but no more than that.
- With the opener’s power switched off, look along the visible wiring for obvious fraying, cuts, or disconnected clips.
- Note anything that looks damaged, chewed, or pulled loose.
- Do not strip, splice, or reconnect wiring yourself — exposed or damaged wiring is a job for a trained technician.
7. A Blinking Light or Damaged Sensor
If you’ve cleaned the lenses, confirmed alignment, tightened the brackets, cleared obstructions, and ruled out sunlight — and a sensor light is still blinking or stays off — the sensor itself may be faulty or worn out. A garage door opener and sensor repair specialist can test the component and replace it if needed. Because indicator-light patterns differ between brands, your opener’s manual — or the manufacturer’s support pages, such as LiftMaster’s safety-sensor guidance — is the best reference for what a specific blink pattern means on your model.
A garage door is the largest moving object in most homes, and its safety sensors are there to protect your family. If troubleshooting doesn’t resolve the issue, professional diagnosis is the right next step rather than forcing the door or disabling its safety system.
Still Fighting With Your Garage Door Sensors?
If your door still won’t close after these steps — or you’ve spotted damaged wiring or a faulty sensor — the team at Durham Garage Door Guys can help. We provide reliable garage door sensor troubleshooting and repair for homeowners across Whitby, Ajax, Pickering, Oshawa, and the wider Durham Region, with same-feel friendly, local service.
Contact Us →Call 289-894-8787 | Request a Free Quote | Serving Durham Region, ON